
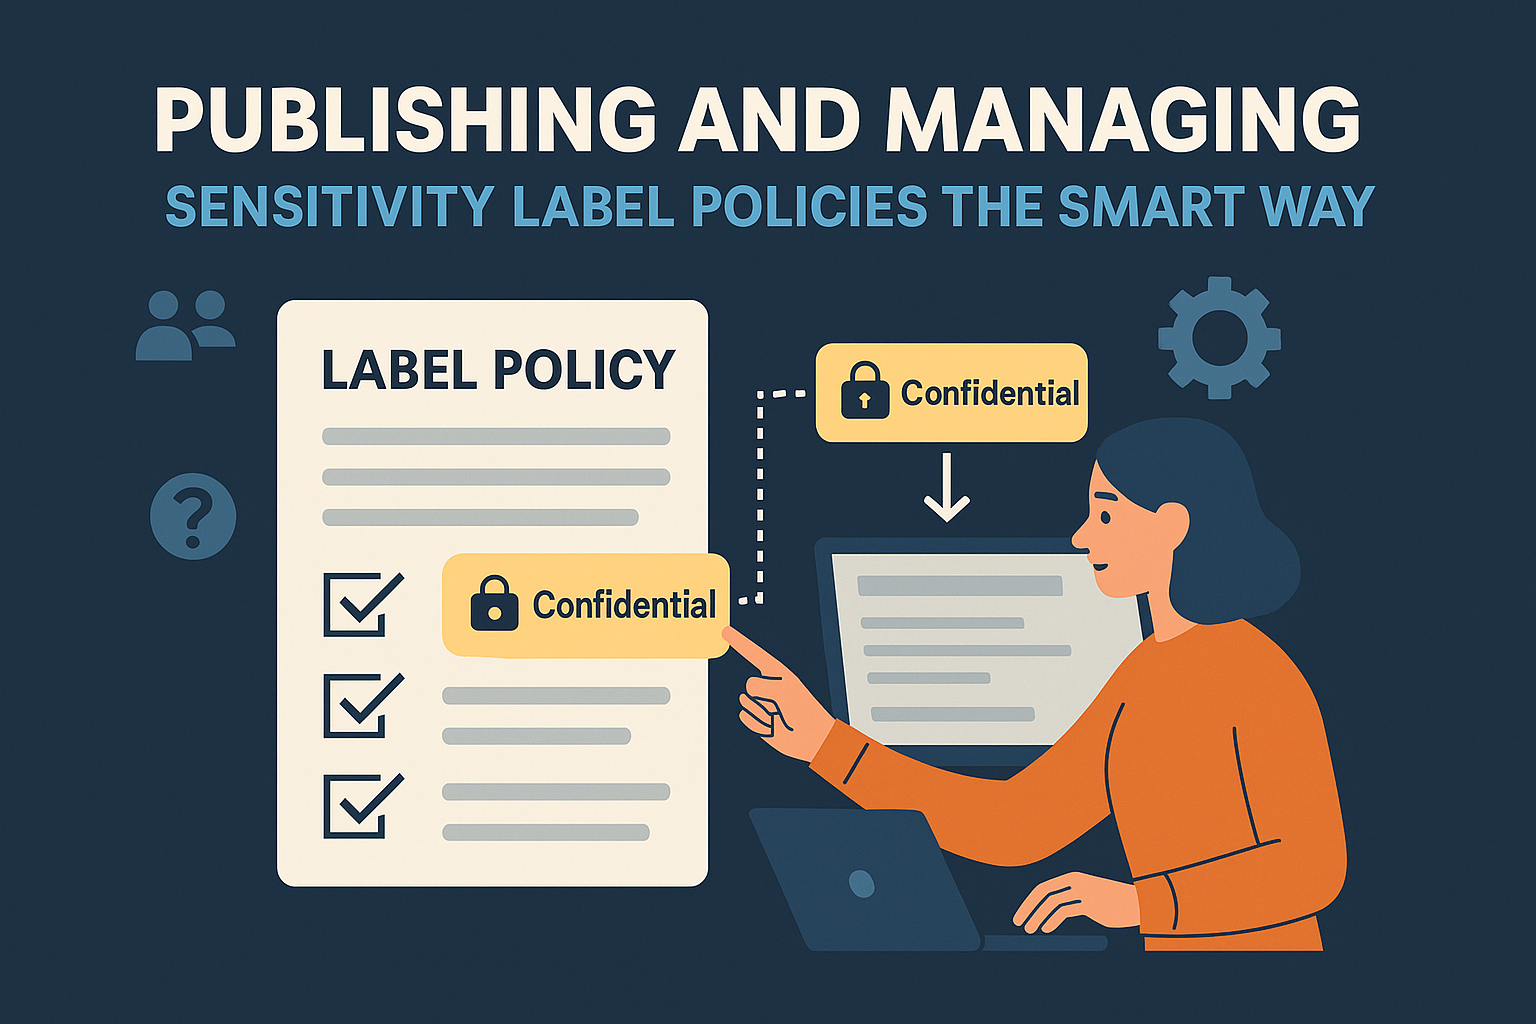
PUR505 – Publishing and Managing Sensitivity Label Policies the Smart Way
Introduction
Creating sensitivity labels is only half the job , publishing and managing them effectively is where the real impact happens.
In large organizations, not everyone should see or use the same labels.
Finance may need “Confidential–Finance,” Legal might require “Attorney–Client,” and HR will have its own restricted set.
That’s why Microsoft Purview uses Label Policies , the mechanism that determines who sees which labels, where, and how they behave.
A well-structured label policy turns your information protection strategy into a scalable, business-friendly system.
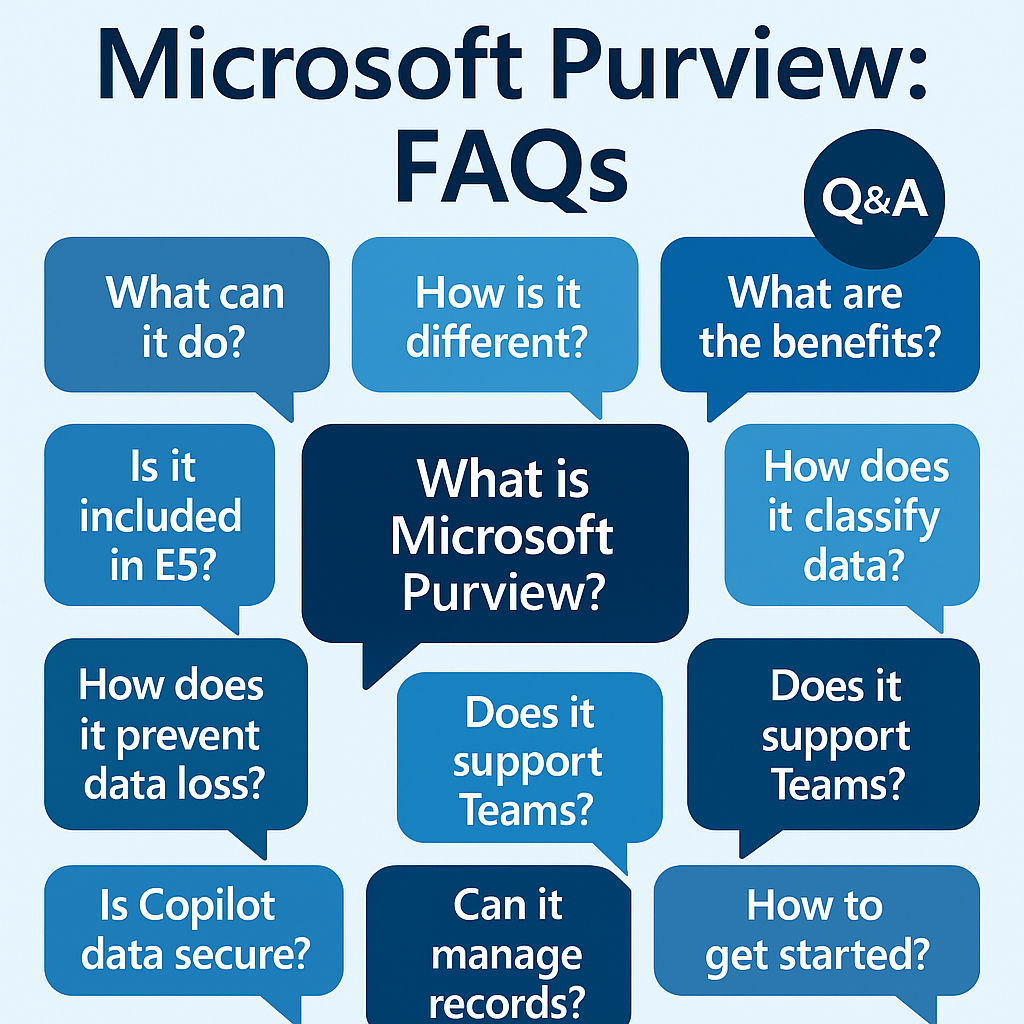
What Is a Label Policy?
A label policy defines how sensitivity labels are distributed and enforced across your environment.
Think of it as the “delivery vehicle” that makes labels available to users in Office apps, Outlook, SharePoint, OneDrive, and Teams.
It answers questions like:
- Who can see and apply certain labels?
- Which label should apply by default?
- Is labeling mandatory before sending or saving?
- Should users receive guidance or just silent enforcement?
Without label policies, your labels exist , but no one can use them.
The Relationship Between Labels and Label Policies
| Concept | Purpose | Analogy |
| Sensitivity Label | Defines what protection applies (encryption, watermark, etc.) | The “rule” |
| Label Policy | Defines who can use the label and how it’s applied | The “delivery and enforcement vehicle” |
Example:
“Confidential–Finance” label encrypts data for the Finance group only.
The Finance Label Policy makes that label visible to finance users and sets it as their default.
This separation allows centralized governance with decentralized access.
Core Elements of a Label Policy
When you create or edit a label policy in Microsoft Purview, you configure several key options:
| Policy Setting | Description | Example |
| Published Labels | Choose which labels the policy includes | Include “Internal,” “Confidential,” and “Highly Confidential–Legal” |
| Users and Groups | Assign who can see and use the labels | Only HR staff or Legal Department |
| Policy Settings | Configure labeling behavior | Mandatory labeling, default label, user justification for downgrade |
| User Notifications | Decide whether users see tips or pop-ups | Show reminder before sending unclassified email |
| Default Label | Set the baseline sensitivity level | “Internal” automatically applies to new documents |
| Mandatory Labeling | Require users to classify before saving/sending | Prevent unlabelled content |
| Justification for Label Changes | Ask for reasons when lowering sensitivity | “Why are you downgrading from Confidential to Internal?” |
| Outlook-specific options | Apply policies when emailing outside the org | Block sending Highly Confidential messages externally |
These settings determine how users interact with your data classification framework daily.
Policy Scoping: Targeting the Right Audience
Not every label is relevant to everyone.
Label policies let you scope labels to users, groups, or administrative units.
Examples:
- A Finance Policy only visible to finance teams.
- A Global Policy containing general labels like “Public” and “Internal.”
- A Legal Policy visible to compliance officers and lawyers.
You can assign up to 10 label policies per user, so plan your scopes carefully to avoid confusion or overlap.
🧠 Tip: Use Administrative Units (AUs) in Microsoft Purview for large, multi-region or multi-department tenants , this ensures regional admins manage their own labels independently.
Default, Mandatory, and Recommended Labeling
Default labeling: Automatically applies a base label (e.g., “Internal”) to all new content. Users can change it if needed.
Mandatory labeling: Prevents users from saving or sending unclassified items , excellent for regulated industries.
Recommended labeling: Suggests a label based on content, using pop-ups or policy tips, but allows user discretion.
| Labeling Mode | User Experience | Ideal For |
| Default | Auto-applies a starting label | Everyday business use |
| Mandatory | Enforces classification | Compliance-heavy sectors |
| Recommended | Educates users, no enforcement | Awareness training phase |
Start with recommended mode, move to default, then enforce mandatory labeling once users are trained.
Creating a Label Policy (Step-by-Step)
- Sign in to the Microsoft Purview Compliance Portal.
- Go to Information Protection → Label Policies → Publish Labels.
- Select labels you want to include in this policy.
- Choose users or groups that should have access.
- Configure settings:
- Default label
- Mandatory labeling
- Justification for downgrade
- User notifications
- Review and publish.
- Allow up to 24 hours for labels to appear in Office apps and SharePoint/OneDrive.
🧠 Implementation Tip: When testing new policies, assign them only to pilot groups before scaling organization-wide.
Managing Multiple Policies and Conflicts
When users are in multiple label policies, Purview merges settings using the following logic:
- All labels from all applicable policies are visible.
- Most restrictive setting wins (e.g., if any policy requires mandatory labeling, it applies).
- Default label from the highest-priority policy takes precedence.
This ensures consistency but also highlights why label planning is critical.
Real-World Example: Multidepartment Rollout
Scenario:
A multinational company wants to protect data across three departments , Finance, HR, and Legal.
- Global Policy: Public, Internal, and Confidential (visible to all users).
- Finance Policy: Adds “Confidential–Finance” and sets it as default for Finance users.
- HR Policy: Adds “Confidential–HR” with mandatory labeling enabled.
- Legal Policy: Adds “Attorney–Client” with justification required for downgrades.
Result:
- Each department gets tailored labels.
- Common labels remain consistent company-wide.
- Compliance teams maintain centralized visibility in the Purview portal.
Monitoring and Maintaining Label Policies
Regular maintenance is as important as deployment. Use these tools:
| Tool | Purpose |
| Information Protection Reports | Review label adoption and policy usage |
| Activity Explorer | Analyze labeling activities (who applied/removed labels) |
| Audit (Premium) | Investigate label changes for compliance evidence |
| Content Explorer | Validate that sensitive data is correctly labeled |
Schedule quarterly reviews to fine-tune label policies based on adoption metrics and incident trends.
Real-World Tip
Don’t overwhelm users.
Keep your first set of labels simple , “Public,” “Internal,” “Confidential.”
Publish department-specific labels gradually, with clear naming conventions and color codes.
Complexity kills adoption , clarity builds compliance.
Exam Tip (SC-401)
Expect questions distinguishing labels from label policies and policy behavior controls.
Key exam takeaways:
- Label = defines protection.
- Policy = defines deployment and enforcement.
- Policy tips and mandatory labeling = part of label policy settings.
- Users can have up to 10 label policies.
Example question:
What determines which sensitivity labels appear in Outlook for a specific user?
Answer: The label policy assigned to that user.
Conclusion
Label policies are the backbone of scalable information protection.
They ensure every department, user, and workload receives the right level of visibility and enforcement , without disrupting productivity.
By structuring policies smartly, you make your Purview environment predictable, consistent, and compliance-ready.
In the next article, PUR506 – Stop the Leak: How Microsoft Purview Data Loss Prevention Really Works, we’ll explore how DLP builds on classification and labeling to prevent sensitive data from leaving your environment , across email, Teams, endpoints, and cloud apps.
Share this content:


Post Comment